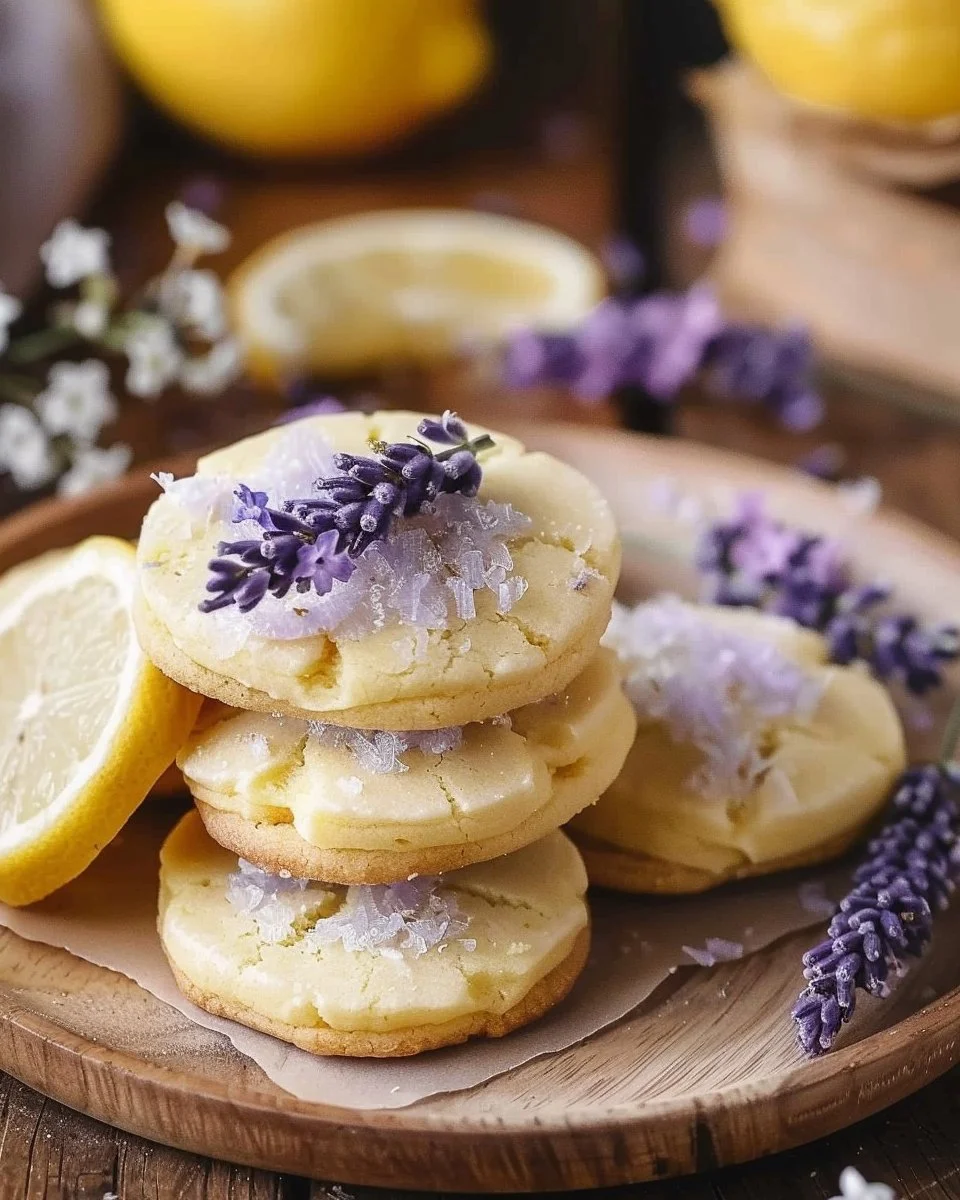
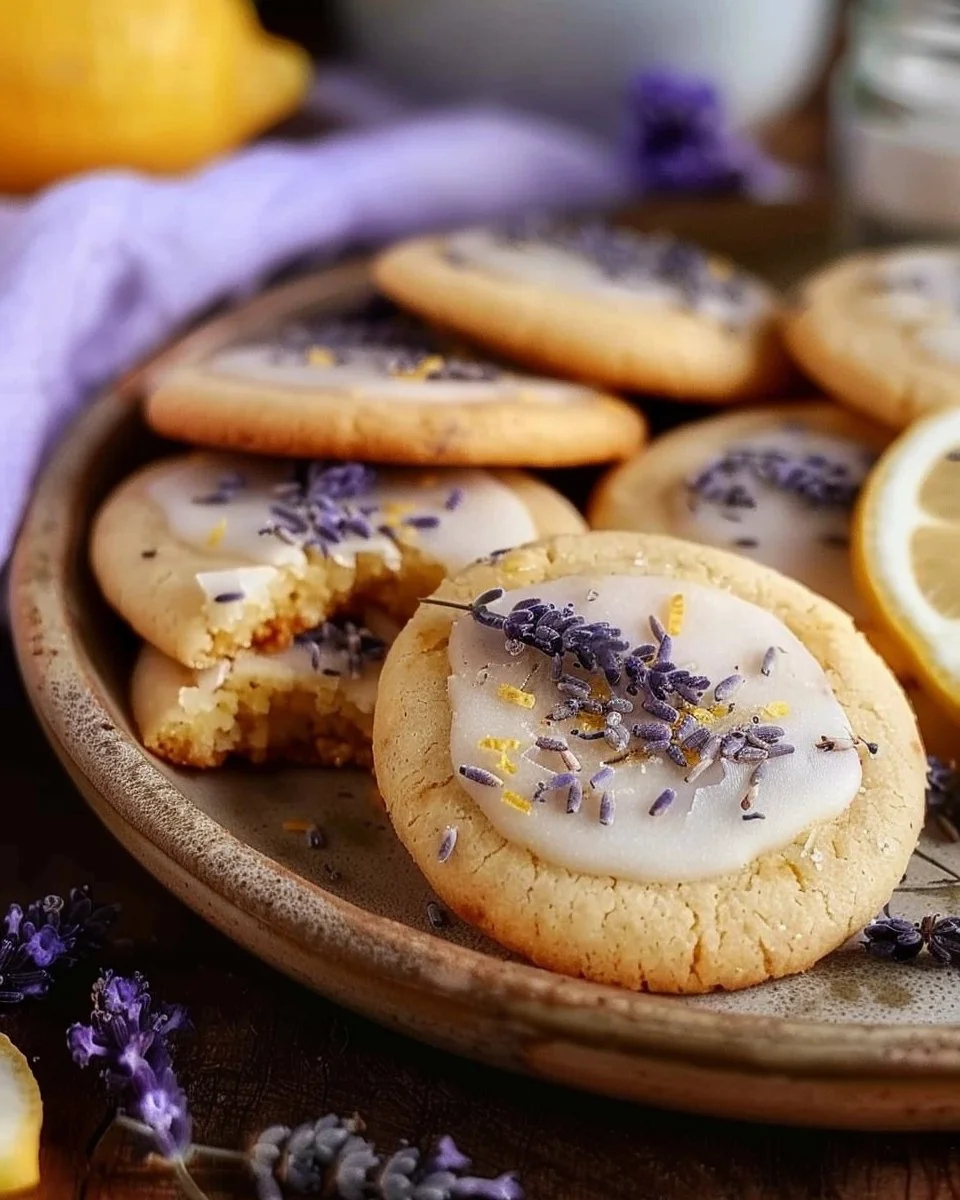
The Surprising Magic of Lemon Lavender Cookies: A Journey from Disaster to Delight
The first time I attempted to bake Lemon Lavender Cookies, I was convinced I was well on my way to becoming the next Nigella Lawson (spoiler: I was wrong). Picture this: I was a blissfully naive 20-something, mixing up the ingredients while balancing a load of laundry in the next room. Halfway through, I somehow knocked over the container of lavender blooms—my kitchen looked like a floral explosion. The cookies turned out… well, they could have doubled as a new potpourri blend. (My friend Jenny still jokes about them to this day.)
But like all champions of the kitchen, I didn’t let that flop stop me. Fast forward to today, and these Lemon Lavender Cookies have become my go-to treat when I want to impress someone—or, let’s be real, when I need to pamper myself after a long week chasing kids, work, and deadlines. So grab your apron (and maybe a glass of wine, trust me on this), and let’s dive into the enchanting world of these cookies.
Why This Matters
You see, this isn’t just a cookie recipe; it’s a little piece of sunshine on a plate that says, “Hey, everything’s going to be okay.” Whether you’re looking to elevate your afternoon tea or need a sweet surprise for a gathering, these cookies do the trick without costing you the earth. They say “I love you” in a way that isn’t overly cheesy, but profoundly heartfelt. Plus, they’re great conversation starters at any gathering—tangy lemon, aromatic lavender—who doesn’t want to know how you pulled that off?
Before You Start
- Don’t stress if you don’t have fresh lavender: Dried lavender—as long as it’s culinary-grade—is just fine and gives a lovely flavour.
- Essential tools: All you need is a mixing bowl, a baking sheet, and parchment paper. No fancy gadgets required!
- If your toddler starts a meltdown at step three: Take a deep breath and hand them a cookie (if there are any). Seriously, the rest of the family will appreciate the quiet!
- Wine pairing while baking: A crisp Sauvignon Blanc really compliments the lemon—so have a little sip as you bake for extra inspiration.
Ingredients
- 1 cup unsalted butter, at room temperature (you can use salted butter if that’s what you have; life’s too short to worry about little things)
- 1 cup granulated sugar (also works well with coconut sugar if you want a richer flavour)
- 1 large egg (free-range, because I like to pretend I’m fancy)
- 2 teaspoons lemon zest (the zest is what packs that citrus punch!)
- 2 tablespoons fresh lemon juice (I squeeze it straight from the lemon tree in my neighbour’s garden, okay not really, but you get the idea)
- 2 cups all-purpose flour (I use plain old Tesco value; it’s not about the brand but the love you put in)
- 1 teaspoon baking powder (yes, that tiny dash makes a huge difference)
- 2 tablespoons dried culinary lavender (don’t do what I did and pick random flowers—this needs to be safe to eat)
- 1/4 teaspoon salt (because every sweet needs a little pinch of salt to shine)
- Optional: powdered sugar for dusting (if you want to go all Pinterest on these cookies)
The Step-by-Step with Stories
Step 1: Cream the Butter and Sugar
Practical Instruction: In a large bowl, cream together the butter and granulated sugar until light and fluffy.
Why this step matters: Creaming the butter and sugar helps create tiny air pockets that give the cookies their structure and lightness. Think of it as the foundation of your cookie castle!
Common mistake here: People often skip this step or don’t cream long enough. If you don’t see fluffy results, you might have to go back to square one—trust me, I’ve been there.
My personal hack: Pop the butter in the microwave for just 10 seconds if it’s too cold. Don’t melt it! We want soft, not soup.
The sensory cue: You’ll know it’s ready when the mixture looks like whipped clouds.
Anecdote: This is my daughter Emma’s favourite step because she loves watching the butter transform. She usually tries to sneak a taste but then acts shocked when she realises, "Wait, it’s not cookie dough yet!"
Step 2: Add the Egg, Lemon Zest, and Juice
Practical Instruction: Beat in the egg, lemon zest, and lemon juice until well combined.
Why this step matters: This helps bring moisture to the dough and infuses that delightful lemony aroma we’re after.
Common mistake here: Not mixing long enough can lead to a weird eggy flavour. Make sure it’s a well-blended situation!
The sensory cue: You’ll know you’re ready to move on when it looks shiny and smooth.
Anecdote: I was so excited to make these cookies last spring that I forgot to add the zest once. Let me tell you, the “lovely lemon” smell was more like a “what happened?” smell. Lesson learned!
Step 3: Sift Together Dry Ingredients
Practical Instruction: In another bowl, whisk together flour, baking powder, dried lavender, and salt.
Why this step matters: Sifting flour aerates it, which ensures those beautiful cookies are light and fluffy. Nobody likes dense cookies unless you’re a civil engineer building a cookie structure!
Common mistake here: Some folks think they can just shove everything in one bowl. But mixing dry and wet separately is key to proper cookie chemistry.
My personal hack: To save dirty dishes, I just use a fork to mix it all in one of those compostable bowls. They’re biodegradable, and I feel like I’m saving the planet while baking!
Anecdote: I remember a time I forgot the baking powder entirely and ended up with flat, sad cookies—perfect for coffee, but absolutely no structure. My husband, Mark, loved them anyway (bless his heart) but I knew better.
Step 4: Combine Wet and Dry Ingredients
Practical Instruction: Slowly add dry ingredients to the butter mixture and blend until just combined.
Why this step matters: Overmixing at this stage can lead to tough cookies, and who wants that? We’re after gentle and inviting textures!
If you’re multitasking: You could be prepping your baking sheet while you mix. Efficiency, right?
The sensory cue: You’ll know it’s ready when the dough has come together and pulls away from the sides of the bowl.
Anecdote: On my third try, I got a little too excited and overmixed. The result? A batch of cookies that, instead of being fluffy, were horrors of chewy despair. Lesson learned.
Step 5: Chill the Dough
Practical Instruction: Wrap the dough in plastic wrap and chill for at least 30 minutes.
Why this matters: Chilling the dough helps prevent spreading during baking so the cookies keep their shape. Plus, when the butter firms up, the flavours meld together beautifully.
If it’s summer: You might want to freeze it for 10-15 minutes instead—trust me; the heat can ruin the magic!
Anecdote: I once forgot about chilling. They spread out like a pancake on the baking sheet, which led my kids to believe we were having “cookie cakes” for a treat.
Step 6: Preheat and Prepare Baking Sheet
Practical Instruction: Preheat the oven to 180°C (350°F) and line a baking sheet with parchment paper.
Why this step matters: Preheating is non-negotiable. You want immediate heat to set your cookies’ structure upon hitting the oven.
Common mistake here: People forget to preheat while chilling the dough and end up waiting longer for cookies. Trust me, patience is a virtue, but so is planning ahead!
Step 7: Scoop and Bake
Practical Instruction: Scoop tablespoonfuls of dough and place them on the prepared baking sheet, leaving space between each scoop.
Why this step matters: Space between the cookies allows them to expand properly—if they touch, they might turn into one large cookie entity that defies all laws of cookie-making.
Ancedote: The first time I did this step while chatting with my friend Lucy, we ended up with a beautiful cookie creation that resembled cookie monsters. Not as visually stunning as we envisaged, but delicious nonetheless!
The sensory cue: You’ll know they’re ready when the edges are golden but the centres look slightly underbaked. They’ll firm up as they cool.
Common mistake: Forgetting to adjust timing for fan ovens; they bake hotter and faster. Keep an eye out!
Step 8: Cool and Dust
Practical Instruction: Let cookies cool on the baking sheet for five minutes, then transfer them to a wire rack to cool completely. Once cooled, dust with powdered sugar if you wish.
Why this matters: Cooling prevents the cookies from steaming and turning mushy. Nobody wants a soggy bottom!
If you burn the bottom: A gentle scrape with a knife can sort out a minor mishap. Just don’t eat the charred bits—trust me, I’ve tried, and they’re not worth it.
The Serving Story
I serve these cookies in a charming little ceramic bowl I inherited from my grandmother. It has a beautiful blue glaze and reminds me of the warmth of her kitchen—especially during chilly autumn evenings. The perfect side would be a steaming cup of herbal tea or perhaps a cheeky glass of Prosecco if I’m feeling a little indulgent.
And here’s a secret: leftovers taste even better on day two because the flavours have had more time to marry, making your taste buds dance with joy. So don’t be afraid to make an extra batch or two; trust me, they’ll disappear quickly!
When I Make This
I usually whip these up on a Sunday afternoon while Emma and her friends are off playing in the garden. The scent wafts through the house, drawing everyone in as they pop their heads through the kitchen door, "Is it cookie time yet?" While the cookies bake, I multitask by folding laundry and half-watching whatever show Mark insists we should binge.
We often eat them at the coffee table while having a movie night—the ultimate coziness—because let’s be honest, is there truly a better comfort food? The cleanup takes about 10-15 minutes, but it’s totally worth it for that cookie bliss.
The Conversational Close
This recipe has seen me through more than just sweet cravings; it’s been a hug during tough days and a centerpiece for gatherings where laughter fills the air. It might not be flawless—like my questionable choice to use lavender in the first place—but that adds texture to the story, doesn’t it?
I’d love to hear if you make these—a picture, a message, anything! Oh, and what’s your go-to comfort treat? Mine varies, but for now, these Lemon Lavender Cookies have stolen my heart.
Now, let’s go bake something beautiful, shall we?

FAQ
Can I substitute the lavender with anything else?
Yes! You can use earl grey tea leaves for a different flavour profile or even omit it if you prefer a classic lemon cookie.
How long do they stay fresh?
Stored in an airtight container, they can last about a week—but they rarely make it past two days in our house!
Can I freeze the dough?
Absolutely! You can roll the dough into balls and freeze them for up to three months. Just add a minute or two to your baking time when you take them out of the freezer!
What’s the best way to store leftover cookies?
Store them in an airtight container at room temperature. If they start getting too soft, pop them in the fridge for a firmer texture.
Can I garnish them differently?
Of course! A lemon glaze or chocolate drizzle can elevate these cookies even more—be creative!
Now, go forth, bake, and enjoy the deliciousness of life!

Lemon Lavender Cookies
Ingredients
Method
- In a large bowl, cream together the butter and granulated sugar until light and fluffy.
- Beat in the egg, lemon zest, and lemon juice until well combined.
- In another bowl, whisk together flour, baking powder, dried lavender, and salt.
- Slowly add dry ingredients to the butter mixture and blend until just combined.
- Wrap the dough in plastic wrap and chill for at least 30 minutes.
- Preheat the oven to 180°C (350°F) and line a baking sheet with parchment paper.
- Scoop tablespoonfuls of dough and place them on the prepared baking sheet, leaving space between each scoop.
- Bake for about 10-12 minutes, until the edges are golden but the centers look slightly underbaked.
- Let cookies cool on the baking sheet for five minutes, then transfer them to a wire rack to cool completely.
- Once cooled, dust with powdered sugar if desired.