
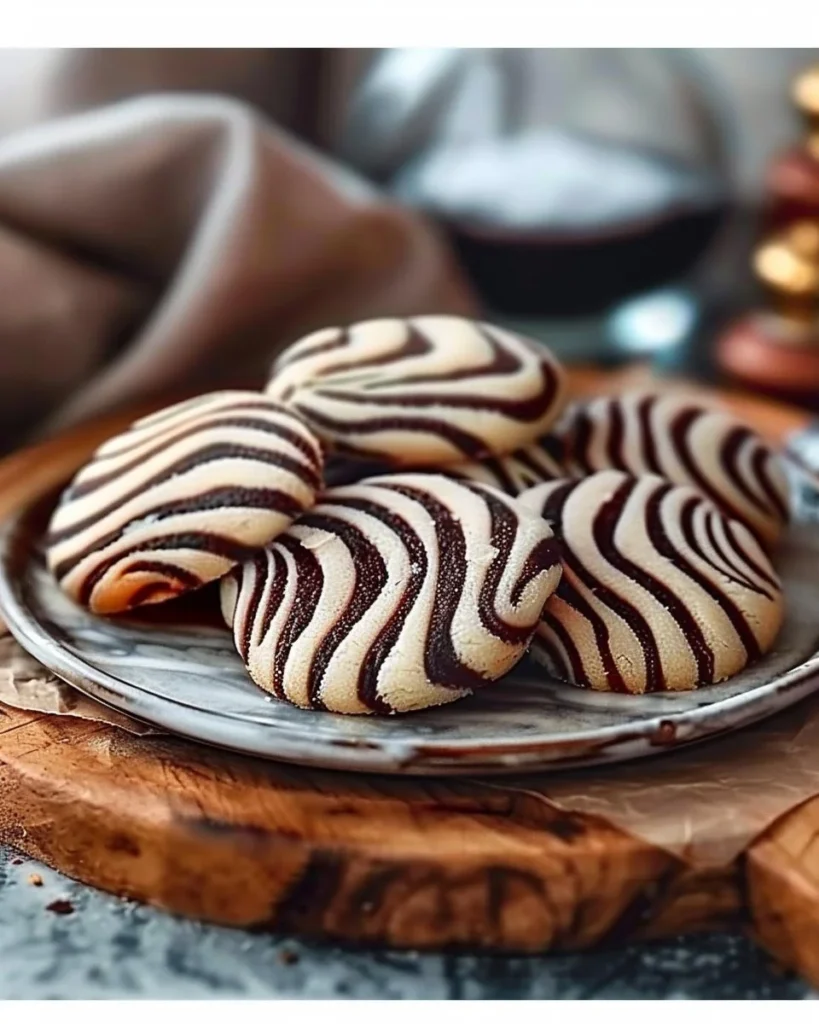
Zebra Cookies: A Kitchen Adventure in Sweet Chaos
The first time I tried to make Zebra Cookies, I was convinced I’d bitten off more than I could chew. Not in the classy way, like someone at a fancy restaurant, but in a “why-is-there-flour-in-my-hair?” kind of crisis. I had this vision of perfect chocolate and vanilla swirls, dancing together on the baking sheet like a sweet little duet. Instead, I ended up with a lumpy mess that looked suspiciously like a science experiment gone wrong. As I stood there, flour dust coating my counters (and, let’s be real, most of my clothes), my best mate Sarah walked in, took one look at the disaster, and chuckled, “Well, at least it’s not burnt… yet.”
That was a few years ago. Now, Zebra Cookies are my go-to treat when I want to impress someone (or just need a chocolate fix). So, let me share this recipe with you. Trust me on this one; I’m about to save you from my initial cookie catastrophe.
Why This Matters
Here’s the thing. Zebra Cookies are not just cookies. They’re a delightful bridge between nostalgia and the sweet craving that sneaks up on you during a film marathon or while waiting for the kettle to boil. When you’ve had a long day, these cookies say, “I see you, and I’m here for you.” Plus, they seem fancy, but really, they’re just clever deception involving basic ingredients and a bit of stripey flair. It’s what you whip up when your kids are begging for something sweet while you hide your own sweets in the pantry.
Before You Start
- If you only have plain cocoa powder instead of Dutch-processed, don’t sweat it; the cookies might be slightly less dark but still tasty.
- The one tool that makes this infinitely easier? A cookie scoop. Trust me, it’s in your drawer somewhere, buried under takeout menus and rubber bands.
- What to do if your toddler starts melting down at step three? Hand them a mini whisk and let them partake in the chaos. You’ll either end up with a helper or a mess…either way, they’ll be distracted.
- Pro tip: Pour yourself a glass of milk or even a cheeky wine while you bake. It makes the process feel less like a chore and more like a party (even if it’s a party of one).
Ingredients
- 1 cup (226g) unsalted butter, softened (because who doesn’t love butter? Just don’t forget to take it out of the fridge about 30 minutes ahead.)
- 1 cup (200g) granulated sugar (My kids think this makes everything magical, and they’re not wrong.)
- 1 large egg (the neutral player in this game; use organic if you can for added goodness).
- 1 tsp vanilla extract (I use vanilla bean paste when I’m feeling fancy, which honestly isn’t often enough.)
- 2 cups (250g) all-purpose flour (You might want to double this because being a home cook means things get messy.)
- 1/4 cup (25g) unsweetened cocoa powder (Remember to sift this bad boy—otherwise you’ll have cocoa clumps like I did the first time.)
- 1 tsp baking powder (It’s like insurance for your cookies—don’t skip it.)
- 1/4 tsp salt (A sprinkle of Jason’s kosher salt, because it just sounds fancy, doesn’t it?)

Step-by-Step Instructions
Step 1: Cream the Butter and Sugar
The Practical Instruction: In a medium bowl, cream the softened butter and granulated sugar together until light and fluffy.
Why this step matters: This is where the magic begins. Creaming incorporates air into the dough, giving you those delightful little clouds of happiness when baked.
Common mistake here: Over-cream it, and you’ll end up with flat cookies. Stop when it’s light and fluffy—trust your instincts here!
The sensory cue: You’ll know it’s ready when the mixture looks pale and fluffy—kind of like unbaked cake batter.
Anecdote: The first time I did this, I over-ambitiously added the flour early. Let’s just say the resulting dough sculpture wasn’t my finest hour. I’m telling you, learn from my mistakes!
Step 2: Add Egg and Vanilla
The Practical Instruction: Add the egg and vanilla extract, beating until combined.
My personal hack: Use a fork to whisk the egg before adding—it helps it blend in nicely!
Step 3: Mix Dry Ingredients Separately
The Practical Instruction: In a separate bowl, whisk together the flour, baking powder, cocoa powder, and salt.
Why this step matters: Mixing dry ingredients separately ensures even distribution in your dough.
If you’re multi-tasking: Now’s the time for your toddler to get involved! Hand them a small bowl and the whisk to keep them busy.
Step 4: Combine Wet and Dry Ingredients
The Practical Instruction: Gradually add the dry mixture to the wet ingredients until just combined.
Common mistake here: Don’t overmix! A few flour streaks are okay; they’ll come together beautifully when you form the logs.
Anecdote: Seriously, one time I thought, “More mixing equals more cookies,” and ended up with something resembling hockey pucks. Lesson learned.
Step 5: Divide and Color
The Practical Instruction: Divide your dough into two equal parts. Mix cocoa powder into one half.
Why this step matters: This gives you those gorgeous stripes. Seriously, they’re what make Zebra Cookies stand out.
Step 6: Form Logs
The Practical Instruction: Roll each half into a log about 12 inches long and chill them in the fridge for at least 30 minutes.
The secret nobody tells you: Use parchment paper to help shape those logs neatly. You can twist the ends like a candy wrapper, which makes cleanup easier.
Step 7: Preheat and Slice
The Practical Instruction: Preheat your oven to 350°F (175°C). Remove the chilled logs, slice into coins about 1/4 inch thick, and place on a parchment-lined baking sheet.
The sensory cue: You’ll know you’re ready when the kitchen smells a tad like a café—sweet, comforting, and maybe just a little nostalgic.
Step 8: Bake
The Practical Instruction: Bake cookies in the preheated oven for 10-12 minutes, until the edges are set.
What can go wrong: If you burn them, the salvation is to smother them in chocolate – literally do that, and no one will know.
Anecdote: I sometimes make a game of it: each kid takes a turn guessing when they’ll be done to take the focus off my frazzled nerves. A fun distraction, if you will!
Step 9: Cool
The Practical Instruction: Let them sit on the baking sheet for a few minutes before transferring to wire racks to cool completely.
The human insight: This step is crucial; it allows the cookies to firm up a bit so they don’t fall apart.
Troubleshooting Real Life
- If you burn the bottom: Let’s be real, it happens. Just trim them up like a fancy pastry chef would (I promise no one will know).
- If you’re out of cocoa powder: No biggie! Use chocolate syrup instead but adjust the sugar slightly since it’s sweeter.
- If you need to pause because of a kid emergency: Just pop those cookies in the fridge to halt the spread!
- If it’s just not working: Remember, even the pros have off days. Cut yourself some slack, order a takeaway, and try again tomorrow.
Serving Story
I usually serve these Zebra Cookies on a vibrant blue platter inherited from my grandma, her favourite colour. I think she believed blue made cookies taste better—who am I to argue? The perfect side is always a tall glass of milk, but honestly, they’re so good that sometimes it’s just straight from the cooling rack to my mouth.
Leftovers taste even better because they get a little time to meld together. They can be a treat to put in lunchboxes, or you could save them for that mid-afternoon slump when you really need a little lift… or maybe I need a little more coffee. Just me?
When I Make This Story
I usually whip these up on a lazy Sunday afternoon when it’s raining outside and the kids are indoors, looking for a way to wreak havoc (the usual). While the cookies bake, I inevitably end up folding laundry—next to the oven, smelling that chocolate goodness wafting through the air, luring me to sneak one.
We eat them at the coffee table while watching cheesy films. Cleanup takes about 15 minutes, but honestly, it’s worth it because I’m usually still in my comfy clothes, a mix of chocolate and silly movie moments.
The Conversational Close
Okay, let’s be real. These Zebra Cookies have seen me through countless rainy afternoons, birthday parties, and the odd midnight snack. They might not be the prettiest cookies on the block, but they’ve got heart and a bit of a backstory (and maybe flour in my hair).
It’s comforting to make something so familiar, especially when everything else feels a bit jumbled. I’d love to hear if you give these a go—tag me on Instagram or just enjoy them quietly. What’s your go-to comfort food? Mine changes, but right now, I’m all about these stripey wonders!

Feel free to adjust the layout and images as per your style guide or platform needs! Happy baking!
Zebra Cookies
Ingredients
Method
- In a medium bowl, cream the softened butter and granulated sugar together until light and fluffy.
- Add the egg and vanilla extract, beating until combined.
- In a separate bowl, whisk together the flour, baking powder, cocoa powder, and salt.
- Gradually add the dry mixture to the wet ingredients until just combined.
- Divide your dough into two equal parts. Mix cocoa powder into one half.
- Roll each half into a log about 12 inches long and chill them in the fridge for at least 30 minutes.
- Preheat your oven to 350°F (175°C). Remove the chilled logs, slice into coins about 1/4 inch thick, and place on a parchment-lined baking sheet.
- Bake cookies in the preheated oven for 10-12 minutes, until the edges are set.
- Let them sit on the baking sheet for a few minutes before transferring to wire racks to cool completely.