
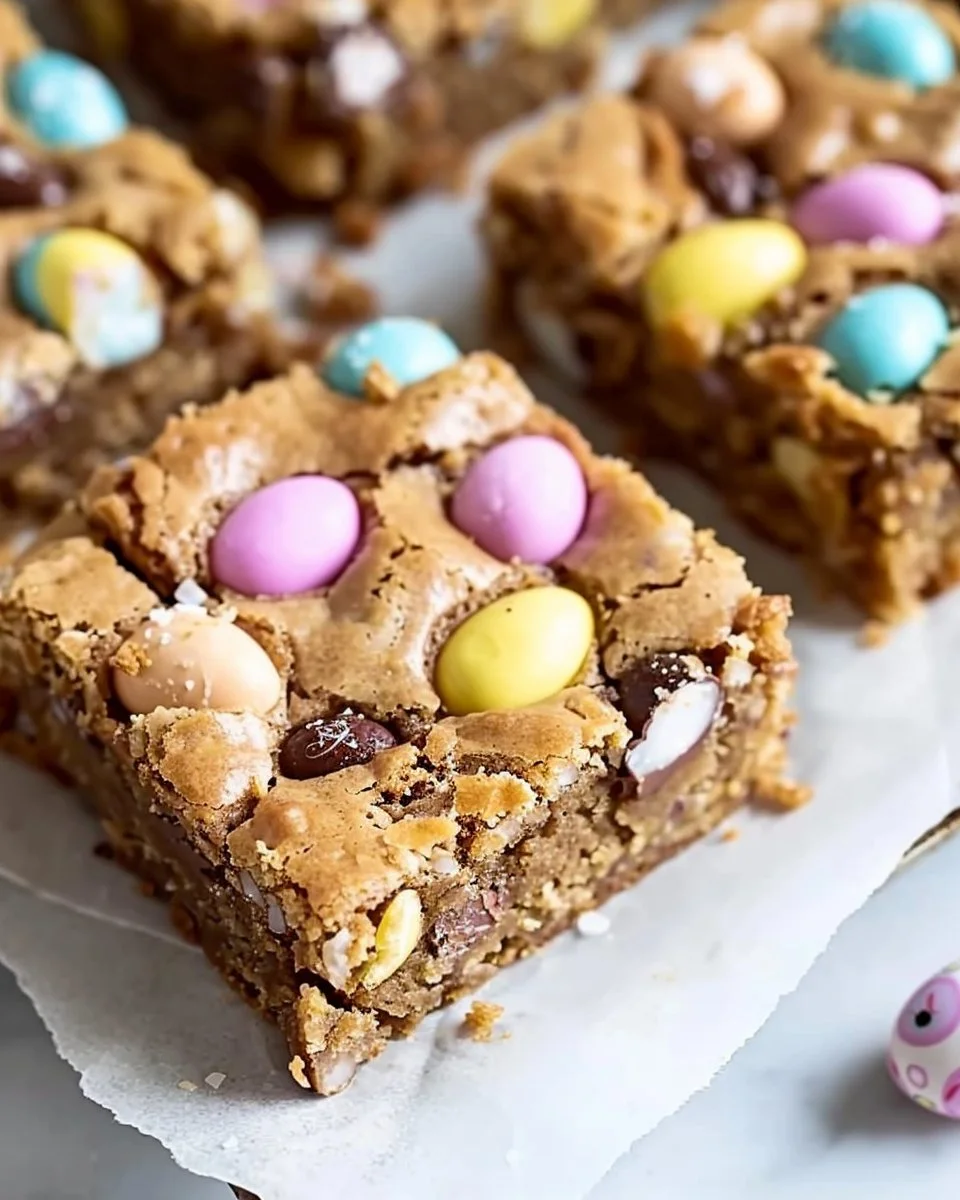
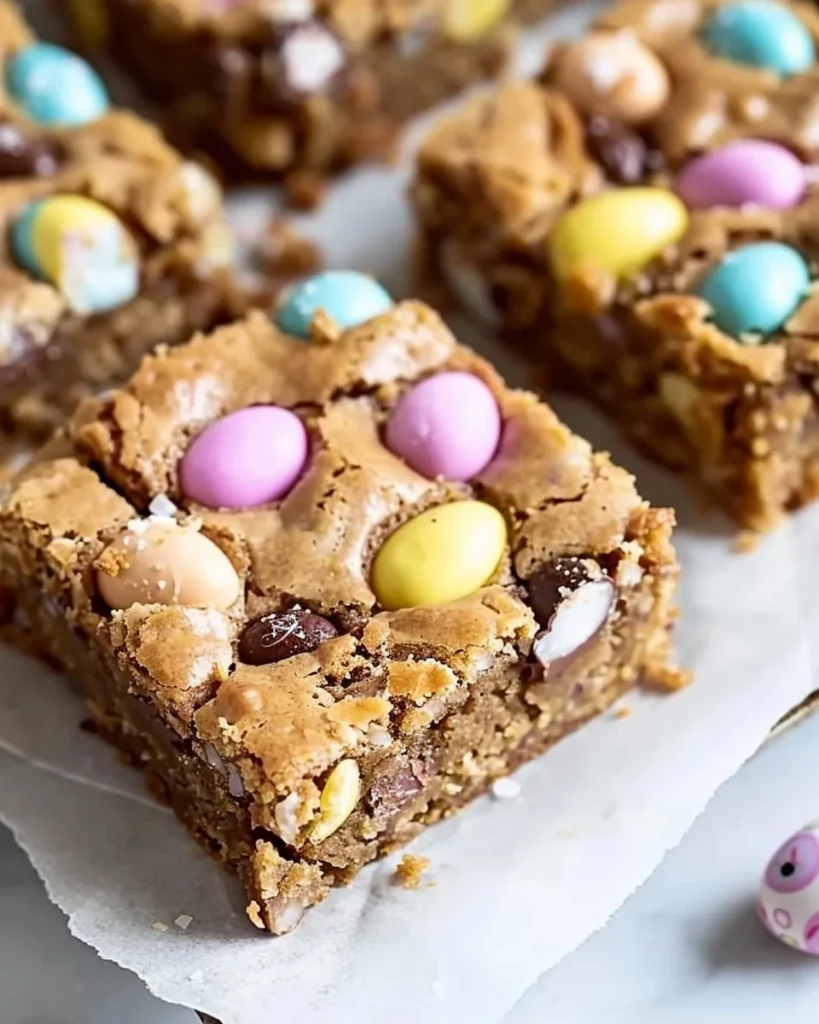
Mini Cadbury Easter Egg Blondies: The Sweetest Way to Celebrate Easter
The Emotional Hook
The first time I attempted to make blondies, let’s just say it was a glorious disaster worthy of a sitcom episode. My kitchen was a flour-covered war zone, and I found myself staring at a bowl of what could only be described as a congealed blob of ingredients that could not be distinguished from concrete mix. Tears—yes, actual tears—flowed as I wondered, "How do people make this look so easy?" My daughter walked in and chuckled, "Mum, maybe we should stick to brownies.” And that’s how I found my way to these Mini Cadbury Easter Egg Blondies, which are not only delightful but also utterly forgiving. Trust me when I say that if I can whip these up without a meltdown, so can you.
Why This Matters
These blondies are more than just a sweet treat; they’re a solution for those chaotic family moments when you want to celebrate Easter without losing your mind. Picture this: kids bouncing off the walls, an influx of relatives, and somehow you’ve got to pull together something special without losing your cool (or your marbles). This is the perfect dessert that says, "I love you" without being all syrupy about it. It’s one of those magical recipes that balances fun and simplicity—and let’s not forget the Cadbury eggs that make everything better. Who doesn’t love a pop of chocolate in their dessert?
Before You Start
Now that you’re on board, here are a few little nuggets of wisdom before diving in:
-
If you only have standard-sized chocolate chips instead of Mini Cadbury Easter Eggs, trust me, it’s still going to be good…just not as festive. Use whatever chocolate you have, and maybe cut the chips in half for bite-size joy.
-
The one tool that makes this infinitely easier: a good spatula. You’ll be surprised how much easier it is to fold the ingredients together with one instead of wrestling with spoons.
-
What to do if your toddler starts melting down at step 3: Give them a tiny bowl of sprinkles or chocolate chips to ‘help’ you out. They’ll be too busy playing chef to notice the chaos around them.
-
The perfect drink to accompany your baking session: a strong cup of tea. It’s comforting, just like these blondies will be when they come out of the oven.
Ingredients List with Personal Notes
Now, let’s talk about what you’ll need. I promise, it’s not too fancy, and all the ingredients are likely hanging about your kitchen.
-
1/2 cup unsalted butter, melted (Trust me, butter is better. Margarine never did anyone any favours.)
-
1 cup light brown sugar (I use soft brown sugar for that extra gooeyness, but you can use dark if you want to feel edgy.)
-
1/2 cup granulated sugar (Because we want the sweetness, plain and simple.)
-
2 large eggs (Farm fresh if you can; the more vibrant the yolk, the happier the blondies.)
-
1 teaspoon vanilla extract (I splurge a little here. Quality counts. Your taste buds will thank you.)
-
1 cup all-purpose flour (No need to sift unless you’re feeling fancy. I never do—it’s flour chaos as it is.)
-
1/2 teaspoon baking powder (This is crucial for that fluffy texture we’re aiming for.)
-
1/4 teaspoon salt (Just a pinch; it cuts through the sweetness beautifully.)
-
1 cup Mini Cadbury Easter Eggs, roughly chopped (Or…you can keep a few whole for decoration, if you want to be that person.)

The Step-by-Step with Stories
Step 1: Preheat the Oven
The Practical Instruction: Preheat your oven to 350°F (175°C).
The Human Insight: Seriously, don’t skip this. If you think you can throw the blondies in while the oven heats, you’ll end up with something resembling a lava cake instead of a beautiful, dense treat.
Anecdote: I once thought I could outsmart the system and skipped preheating. Spoiler: my oven was not impressed. It’s like baking with a sulky teen—process takes longer, and the results are never great.
Step 2: Combine the Sugars and Butter
The Practical Instruction: In a mixing bowl, whisk together your melted butter, brown sugar, and granulated sugar until it’s smooth and creamy.
Why This Step Matters: Mixing your sugars with the butter first creates that delightful caramelised flavour you want in blondies.
Common Mistake: Don’t rush this step! Make sure your butter isn’t too hot; burnt sugar equals bitter blondies. No one likes bitter!
Anecdote: The first time I did this, I was in a rush (as usual) and added eggs too soon. Collected quite the mess, and let me tell you, cleaning up raw eggs from kitchen tiles is no fun.
Step 3: Add Eggs and Vanilla
The Practical Instruction: Beat in the eggs one at a time and stir in the vanilla extract.
The Sensory Cue: You’ll know it’s ready when everything looks glossy and beautiful—like a mini Hollywood production.
Anecdote: One of my kids loves to help at this stage. He thinks he’s a sous-chef, and I let him crack the eggs, but then there’s always an errant shell or two. Trust me, count on finding surprise crunch in at least one blondie.
Step 4: Mix in Dry Ingredients
The Practical Instruction: Gently fold in the flour, baking powder, and salt until just combined.
Common Mistake: Over-mixing is your enemy here. If you see any flour pockets, you’re golden. Keep it simple!
My Personal Hack: I use a large spatula to fold, and I try to do it with as much flare as possible. It’s all about that dramatic flair in the kitchen—there’s a chance someone’s watching.
Step 5: Fold in the Mini Cadbury Eggs
The Practical Instruction: Gently fold in the chopped Mini Cadbury Easter Eggs.
Why This Step Matters: The eggs will melt slightly while baking, creating sweet, gooey pockets. Plus, they add a cheerful pop of colour!
Anecdote: I once accidentally dumped in a whole bag of chocolate eggs. Let’s just say that Easter came early for my kids that year. It was a chocolate festival and the blondies were just glorified fudge.
Step 6: Bake
The Practical Instruction: Pour the mixture into a greased baking pan and bake for 20 to 25 minutes.
Why This Step Matters: You want them to be slightly underbaked; they’ll continue to cook as they cool. You’re aiming for that soft, fudgy texture.
The Sensory Cue: You’ll know they’re done when the edges look golden but the middle is still a bit wobbly.
Step 7: Cool and Slice
The Practical Instruction: Let them cool in the pan for about 10 minutes before transferring to a wire rack.
Common Mistake: I can’t tell you how many times I’ve tried to rush this step—those hot blondies are not friendly to knives. They’ll crumble, and you’ll have a mess on your hands.
Anecdote: I sometimes forget to transfer them to a wire rack. My husband doesn’t mind; he’ll just eat them right out of the pan with a fork. Not a bad strategy, really—it saves on dishes.
Troubleshooting Real Life
So, what if things don’t go exactly as planned?
-
If you burn the bottom: Don’t panic—cut off the crusty bits and serve them upside down. Trust me, nobody will be the wiser.
-
If you’re out of eggs: You can substitute each egg with a quarter cup of unsweetened applesauce or a mashed banana. It works better than you’d think—seriously.
-
If you need to pause because a kid emergency arises: Cover the mixture with a damp towel and come back to it. It’ll hold fine for a bit while you tackle the real-life chaos.
-
If it’s just not working: “Hey, maybe it’s a sign to go order pizza and call it a day.” Some days, even I give in to takeout, and honestly? No shame in that game.
The Serving Story
When it’s ready to serve, I always opt for a nice, simple square plate—it feels fancy without the fuss. If I’m feeling particularly bright, I’ll sprinkle a touch of sea salt over the top to elevate those flavour notes. These little blondie squares have a way of looking fancy, so presentation doesn’t require much effort.
Leftovers? Ohhhh yes. They actually taste even better the next day when the flavours get a chance to mingle. Pop them in an airtight container for a few days—because let’s face it, if the kids get to them, they won’t last long.
When I Make This
I usually whip these up on a Saturday afternoon as a fun family activity. While the kids bicker over who gets to add the chocolate, I fold in some calming music (or noise-canceling headphones, whichever works). While I wait for the sweet aroma to waft through the house, I manage to sneak in a quick load of laundry, because, well, laundry waits for no one.
We usually enjoy these at the kitchen island while still in comfy clothes, spread out on silly stories about our week. Cleanup takes about ten minutes if I’m lucky, but honestly, some bits get left for the dishwasher to handle. It’s just how the weekend rolls around here.
The Conversational Close
This recipe for Mini Cadbury Easter Egg Blondies has seen me through countless family gatherings, tantrums, and those “what the heck should I make” moments. It’s my go-to for any bake sale, family get-together, or just to celebrate surviving another week of life’s lovely chaos.
It might not be the perfect recipe, but it’s become a part of my kitchen legacy. I’d love to hear if you make it—don’t forget to tag me in your creations or just relish it quietly in your own home. What’s your go-to comfort food? Mine changes occasionally, but right now, it’s these blondies.
May your Easter be filled with joy, and may your kitchen not become a total disaster zone in the process. Happy baking!
Let me know if you need any further adjustments or have more questions! Enjoy your baking adventures!
Mini Cadbury Easter Egg Blondies
Ingredients
Method
- Preheat your oven to 350°F (175°C).
- In a mixing bowl, whisk together your melted butter, brown sugar, and granulated sugar until smooth and creamy.
- Beat in the eggs one at a time and stir in the vanilla extract.
- Gently fold in the flour, baking powder, and salt until just combined.
- Gently fold in the chopped Mini Cadbury Easter Eggs.
- Pour the mixture into a greased baking pan and bake for 20 to 25 minutes.
- Let them cool in the pan for about 10 minutes before transferring to a wire rack.