
Biscoff Blondies: The Sweet, Buttery Warm Hug You Didn’t Know You Needed
The first time I attempted to make Biscoff blondies, I had what can only be described as a kitchen panic attack. I mean, there I was, standing in my kitchen with flour in my hair, trying to figure out if I was measuring the brown sugar correctly. (Trust me, who knew that brown sugar could clump more than my toddler’s stuffed toys?) I had just come off a rather disastrous attempt at baking some fancy tiered cake (let’s not talk about that monumental flop), and so I thought, “Hey, blondies – that sounds less involved.” Spoiler alert: my inner baker had other ideas.
Long story short, I mixed everything up in a fit of confidence—and let’s just say it didn’t go well. But there was my husband, walking in and catching a whiff of sugary chaos, who leaned in with that goofy grin of his and said, “I think these could use a little more love.” And you know what? In that moment, I knew he meant a little more Biscoff spread. Now, this recipe is my go-to not only for when things are going a bit haywire, but also for times when I need to impress unexpectedly (like when my sister-in-law pops over out of the blue). These Biscoff blondies are comfort wrapped in buttery goodness—the homage to sweet memories and warm, spontaneous gatherings.
Why This Matters
This isn’t just some dessert; oh no. This is the embodiment of what it means to cheer yourself up when you’re holing up inside on a rainy Sunday afternoon or the magic you whip up to share a sweet moment with someone special. We all have those crappy days, don’t we? The ones where the only thing you really want is something rich in taste and warmth; maybe you need to celebrate that spur-of-the-moment win at work or just enjoy the simple pleasure of a baked treat with your kids after school. This, my friend, is a solution to all life’s little hiccups—Biscoff blondies are your edible hug.
Before You Start
Now, before we dive into this wholesome chaos of baking, here are a few quick things you should know:
-
If you only have regular sugar instead of brown sugar, go ahead and use it, but you’ll need to add a tablespoon of molasses for that gooey caramel-like flavour. No molasses? Well, sugar will still do its job, but it won’t have the same depth. Just saying.
-
The one tool that makes this infinitely easier is a good ol’ set of measuring cups. I mean, if you’ve ever experimented with ‘a splash’ of something in a baking recipe, you know where that leads. (Hint: It’s always a whipping disaster).
-
What to do if you’re whizzing around like a headless chicken with the kids? Set them up with a bowl of flour and some measuring cups to "help" you. It’s messy, but hey, they’ll feel involved, and you’ll have a good excuse for that flour explosion all over the floor.
-
Pro tip for your sanity: Pour yourself a cheeky glass of wine before you preheat the oven. I’ve found that it makes everything taste a whole lot sweeter!
Ingredients
Here’s what you’ll need for your Biscoff blondies. Trust me, this isn’t as complicated as it seems:
- 200g unsalted butter, melted (I use Lurpak because it’s always luscious and creamy)
- 300g light brown sugar (The darker, the deeper the flavour. Use this and it’ll mimic a hug.)
- 2 large eggs (Free-range, if you want to feel fancy)
- 1 tsp vanilla extract (I’ve got a secret—vanilla bean paste makes it next level!)
- 220g plain flour (Use your regular stuff here; no need for anything posh.)
- 1/2 tsp baking powder (It’s the life of the party, trust me.)
- 1/4 tsp salt (A sprinkle here and there is what makes everything better.)
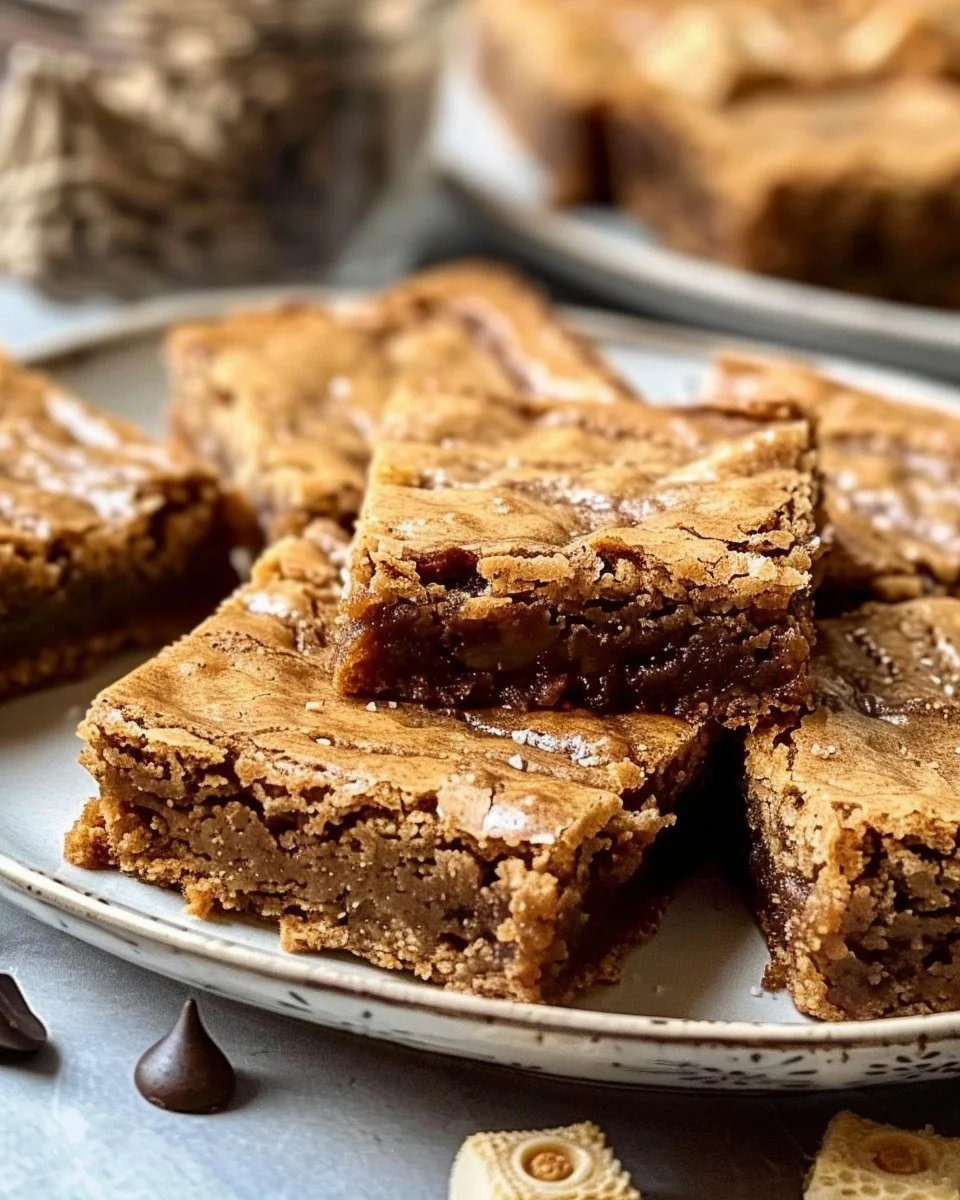
- 150g Biscoff spread (Okay, this is the main event. Use it liberally.)
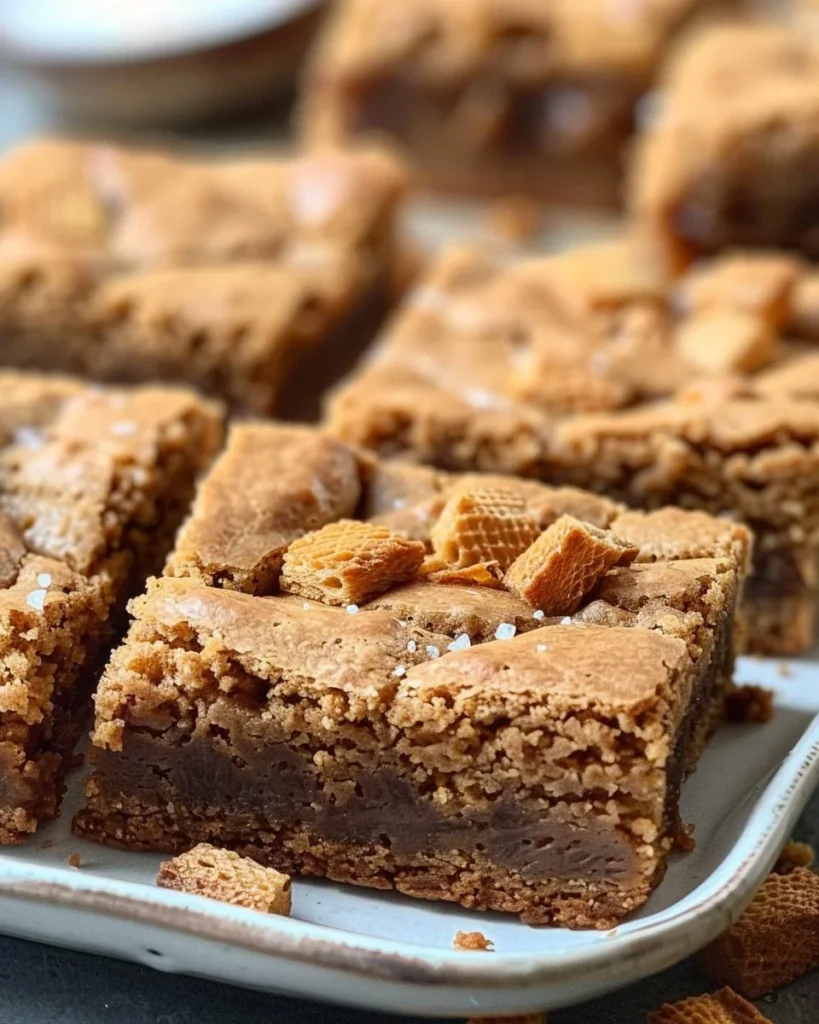
- Optional: Biscoff cookies, crumbles for topping (Because you can never have too much of a good thing.)
Step-By-Step with Stories
1. Prepare Your Oven and Pan
Practical Instruction: Preheat your oven to 180°C (350°F). Grease and line a 9×9-inch baking pan with parchment paper.
Why this step matters: This helps ensure that the blondies cook evenly and don’t stick.
The sensory cue: You’ll know your oven is ready when a waft of possibility fills the air.
Anecdote: I used to skip the lining part till I ended up with a seafood-scented disaster stuck to my pan one time. Don’t ask.
2. Mix Butter and Sugar
Practical Instruction: In a large bowl, whisk the melted butter and light brown sugar together until combined.
Common mistake here: Not cooling the butter a bit before whisking it into the sugar can lead to a grainy texture. Lesson learned!
My personal hack: Seriously, use a fork for this—less washing up!
3. Add Eggs and Vanilla
Practical Instruction: Toss in the eggs, one by one, and the vanilla extract. Mix until it’s smooth.
Why this step matters: Giving it a good mix adds that beautiful fluffiness to the blondies.
Anecdote: This step always reminds me of when my daughter, Ruby, used to ‘help’ crack the eggs. Spoiler alert: We’ve had a few eggy mishaps where half the shell made it into the bowl—good times.
4. Combine Dry Ingredients
Practical Instruction: In another bowl, whisk together the flour, baking powder, and salt.
What to do if you’re multitasking: While you’re whisking, get started on crumbling those Biscoff cookies for topping. You might want to accidentally eat a few while you’re at it.
5. Fold It All Together
Practical Instruction: Pour the dry ingredients into the wet and mix until incorporated. Fold in the Biscoff spread until everything is well blended. No lumps, please!
Why this step matters: Overmixing here can lead to a tough texture. If it’s slightly lumpy, just roll with it.
Anecdote: When I fold in that Biscoff spread, I’m telling you… It’s like embracing an old friend. But in my defense, when the kids aren’t around, I might shove my face into the bowl before it even makes it to the pan.
6. Into the Oven
Practical Instruction: Pour the batter into the prepared pan and smooth out the top. Swirl in some extra Biscoff if you’re feeling fancy.
Why this step matters: Smoothing it down helps to bake evenly. And the swirl looks so posh!
Common mistake: If your kids are around, they might try ‘helping’ with this step by licking the spoon before it makes it to the pan. It’s adorable but not ideal.
7. Bake and Cool
Practical Instruction: Bake for 25-30 minutes. The edges should be golden brown and the middle should feel slightly firm but spring back with a light touch.
My personal hack: Set a timer so you can run out and grab those last-minute groceries instead of waiting around like a saint.
The sensory cue: you’ll know these are done when the whole house smells like cookie heaven. It’s almost divine.
8. Let it Chill
Practical Instruction: Once baked, let them cool in the pan for about 10 minutes before transferring to a wire rack.
What to do if your toddler starts melting down: Seriously, just promise they can pick the first piece. It works wonders!
Troubleshooting Real Life
-
If you burn the bottom: No sweat—trim off the burnt bits, and maybe shove it in a square container and call it a “brownie bite.”
-
If you’re out of Biscoff spread: I can’t believe I’m saying this, but nutella or almond butter works in a pinch. Not the same, but you do you!
-
If you need to pause because something unexpected happens: Just cover it with a tea towel, it will still bake nicely when you return.
-
If it’s just not working: Sometimes I’ve just embraced it and served it with a scoop of ice cream on top. Voilà! Instant success!
The Serving Story
I serve these blondies on a quirky blue plate I found at a charity shop. Why? It has a charm about it—kinda like these blondies. Honestly, when I want to impress my mates, I crust the top with crumbled Biscoff. But, most days, we just dig into them straight from the pan like discerning kitchen slobs, giggling over crumbs.
Leftovers taste even better because the flavours have had time to chill out. So don’t worry about making too much unless, of course, you’re trying to eat just one. Good luck with that!
When I Make This
I usually whip these up on Friday afternoons as a mini celebration of surviving another week. While they bake, I might tackle some laundry or scroll through Instagram—blissful chaos, you know? We chow down on them at the coffee table while binge-watching whatever series has caught our fancy (currently, it’s The Great British Bake Off because life is hilariously ironic).
Cleanup might take 15 minutes, give or take, mostly because I dare anyone to try and wash the sticky Biscoff bowl before licking it clean. That sugar rush really is worth every bit!
The Conversational Close
This recipe has seen me through unscheduled visits, birthdays, and more than a few grown-up meltdowns—often my own! They’re not perfect (neither am I), but these blondies are where I feel the most grounded.
I’d love to hear if you make them—tag me on social media or just take a sneaky bite alone. Either way, enjoy every crumb! What’s your go-to comfort food? I think mine will forever be these Biscoff blondies, even if they were born from chaos. Happy baking, friends!

Biscoff Blondies
Ingredients
Method
- Preheat your oven to 180°C (350°F). Grease and line a 9x9-inch baking pan with parchment paper.
- In a large bowl, whisk the melted butter and light brown sugar together until combined.
- Add the eggs one by one, along with the vanilla extract. Mix until smooth.
- In another bowl, whisk together the flour, baking powder, and salt.
- Pour the dry ingredients into the wet mixture and fold until incorporated. Stir in the Biscoff spread until well blended.
- Pour the batter into the prepared pan and smooth out the top. Optionally, swirl in some extra Biscoff.
- Bake for 25-30 minutes. The edges should be golden brown and the middle should spring back with a light touch.
- Let the blondies cool in the pan for about 10 minutes before transferring to a wire rack.