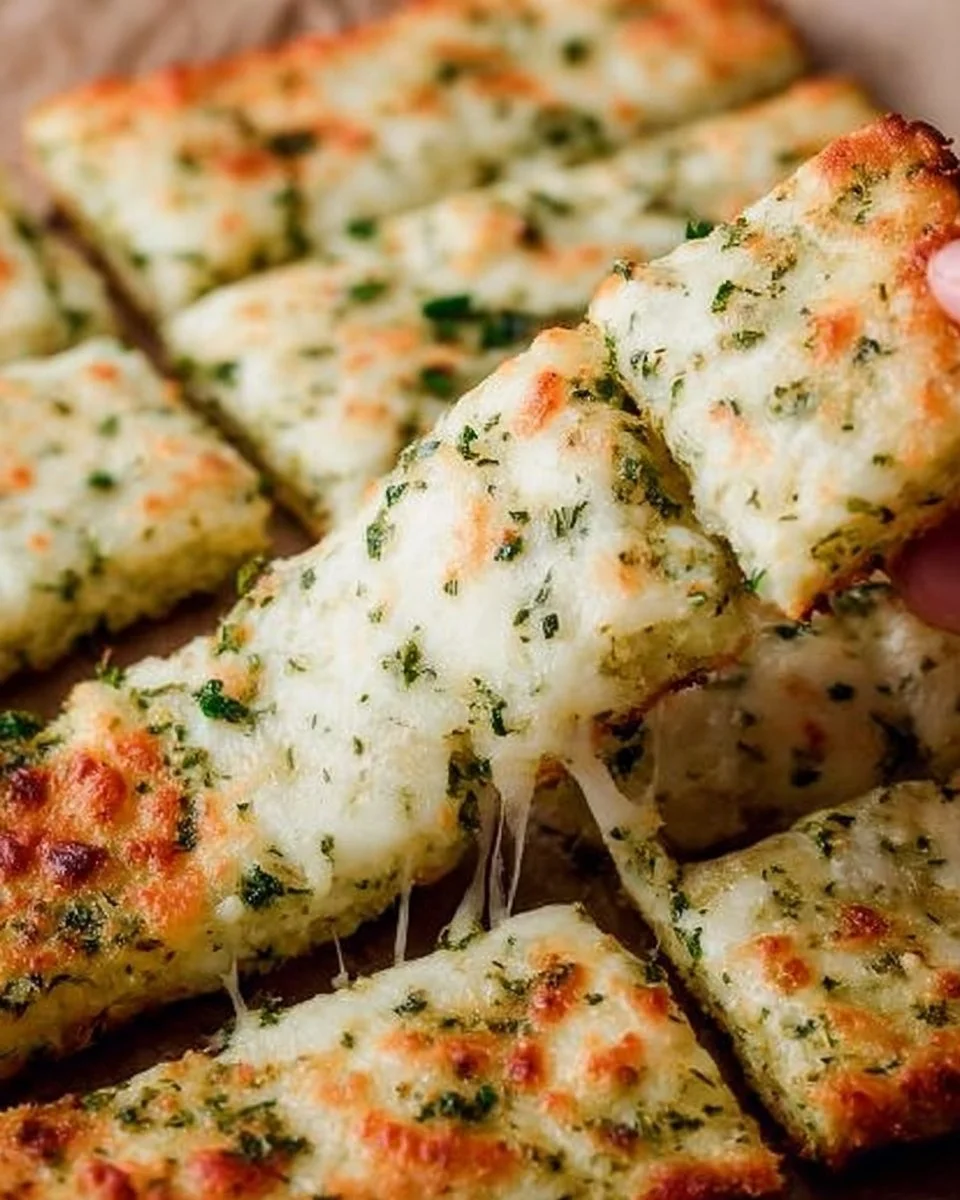
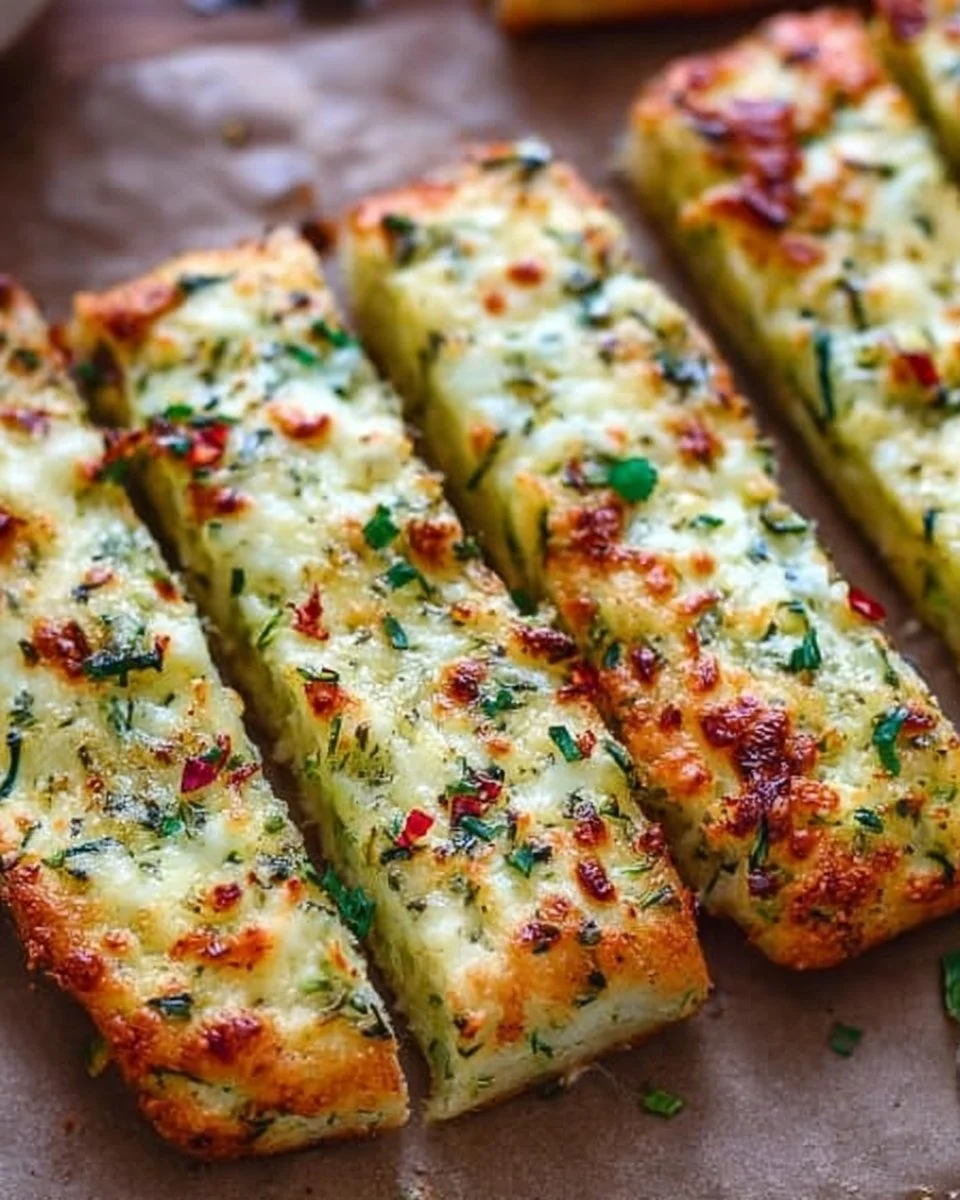
The Cheesy Zucchini Breadsticks You’ll Want to Make Every Week
The first time I tried to make these cheesy zucchini breadsticks, let’s just say it was a hot mess (and not the culinary kind). I had visions of golden, gooey perfection dancing in my head while my three kids chased each other around the kitchen, narrowly avoiding a bowl of flour that—believe it or not—ended up on my head instead of in the mix. My son, Lucas, walked in, took one look at my green, flour-dusted chaos, and said, “Mum, is this a new hairstyle?” (I promise I wasn’t going for a “zucchini goddess” look that day!) But after a few hiccups and a bit of determination, I turned that disaster into a delightful recipe—one that’s become our go-to snack when I need something comforting and cheesy.
Now, let’s be real. As a busy mum who juggles work, soccer practices, and the never-ending laundry pile, I need recipes that not only taste amazing but also bring the family together. And trust me, cheesy zucchini breadsticks are just that. They solve my problem of sneaking in veggies without the kids even noticing (yes, victory!), and they’re so much fun to make together. If you’re in the same boat, get ready for a fantastic journey through the world of cheesy goodness!
Why This Matters
This isn’t just about whipping up some cheesy goodness (although, let’s be honest, we all love that). This recipe is perfect for those evenings where you’re completely wiped out but still crave comfort. It’s also a delightful way to engage my kids in the kitchen—because, let’s face it, getting them excited about veggies can sometimes feel like pulling teeth. But when those zucchini sticks are golden and gooey, it’s a game-changer. You can serve these as a side, a snack, or even a sneaky main event. No judgment here!
Before You Start
- If you don’t have fresh zucchini, by all means, use frozen. Just make sure to thaw and drain them well; no one likes soggy breadsticks!
- The one tool that makes this infinitely easier? A box grater. It’s miraculous how quickly you can shred zucchini with one of those. Seriously, if you don’t have one, it’s time to invest in this kitchen must-have!
- What to do if your toddler starts melting down at step three? Just pause, grab their favourite snack, or put on a quick episode of Peppa Pig to buy yourself some time (yes, I confess, I’ve been there too).
- The exact wine to pour while cooking this? A crisp Sauvignon Blanc pairs excellently, but if it’s one of those “it’s only Tuesday” days, a nice cup of herbal tea will do wonders too.
Ingredients
- 2 medium zucchinis, grated (I usually use the green ones because they’re easier to find, but yellow zucchini work just as well!)
- 1 teaspoon salt (I prefer sea salt because my grandma swore it made everything taste better.)
- 1 cup shredded mozzarella cheese (For maximum gooeyness, don’t skimp here!)
- 1/2 cup grated Parmesan cheese (Seriously, don’t skip this; it’s the secret that drives the flavour home.)
- 1/2 cup all-purpose flour (Use wholemeal if you want to feel virtuous, but honestly, white works just as well.)
- 2 large eggs (Free-range if you can, for that extra taste of sunshine—trust me on this!)
- 1 teaspoon garlic powder (Because everything is better with garlic, right?)
- 1/2 teaspoon black pepper (Feel free to add a pinch more if you’re a spice lover!)
- Optional: Fresh parsley, chopped (I only ever use it for the colour, not because I’m fancy or anything.)
The Step-by-Step Guide to Cheesy Zucchini Breadsticks
Step 1: Grate the Zucchini
The Practical Instruction: Grate the zucchini using a box grater or food processor.
The Human Insight: You want those strands to be pretty fine; large chunks won’t give you that delectable breadstick texture.
Common mistake here: Most people forget to squeeze the grated zucchini to remove excess water. Don’t skip this step, or you’ll end up with mushy sticks!
My personal hack: I like to wrap the grated zucchini in a clean kitchen towel and twist it to get all that extra moisture out. It works like a charm!
The sensory cue: You’ll know it’s ready when it feels surprisingly dry to the touch.
Step 2: Combine Ingredients
The Practical Instruction: In a mixing bowl, combine the grated zucchini, salt, mozzarella, Parmesan, flour, eggs, garlic powder, and black pepper until well incorporated.
The Human Insight: This is where you can really let loose and channel your inner chef. No need to be neat; just dive in!
If you’re multi-tasking: Use the time while mixing to think about what you’ll serve alongside these cheesy delights.
Quick tip: I often let my kids sprinkle in the cheeses. Their excitement makes the whole cooking process a joy!
Anecdote: I remember my daughter, Mia, once accidentally dropped half the bowl of zucchini all over the floor while trying to help (cue the kitchen disaster again). Now, I always give her a “designated helper bowl” filled with a small amount. It stops the chaos and keeps her engaged!
Step 3: Form Breadsticks
The Practical Instruction: Spread the mixture onto a parchment-lined baking sheet, shaping it into a rectangle about 1/2 inch thick.
The Human Insight: The thinner you spread it, the crispier they’ll turn out, and trust me, that’s a good thing!
Common mistake here: People tend to make the mixture too thick, thinking it’ll hold together better, but then they lose that beloved breadstick texture.
Anecdote: This is when Lucas often asks if he can shape them into hearts. What can I say? He’s a romantic, and I just go along with his ideas (usually with a chuckle).
Step 4: Bake
The Practical Instruction: Preheat the oven to 200°C (or 400°C if you’re in the US) and bake for about 20 minutes, or until the top is golden and bubbly.
The Human Insight: Baking them at a higher temperature helps those edges get nice and crisp!
The sensory cue: You’ll know they’re done when your kitchen smells like cheesy heaven—seriously, it’ll tempt even the pickiest eaters.
Step 5: Cool and Cut
The Practical Instruction: Allow them to cool for at least 5 minutes before cutting them into sticks.
The Human Insight: Giving them a moment to rest gives them structure. Otherwise, they’ll just fall apart!
Common mistake here: If you rush this step, I’m telling you, you’ll end up with a melty mess, and no one wants that on their plate.
Step 6: Serve and Enjoy
The Practical Instruction: Serve warm with your favourite marinara sauce for dipping.
Anecdote: We usually have a “family dipping night” and take turns trying different dips. It’s a simple way to keep the dinner table fun and engaging, especially after long, tiring days!
Troubleshooting Real Life
-
If you burn the bottom: Transfer to a cool baking sheet immediately, then serve with a side of “oops, but they’re still fab!” sauce.
-
If you’re out of zucchini: Really? Okay, substitute with finely shredded carrots or even spinach—it won’t taste the same, but you’ll still get that cheesy goodness.
-
If you need to pause because of a kid emergency: Just cover the mixture with cling film and leave it at room temperature for up to 30 minutes. It’ll hold just fine!
How to Serve with Personality
I like serving these cheesy zucchini breadsticks on a rustic wooden board with a sprinkle of parsley on top—because who doesn’t enjoy a little flourish? Honestly, we often eat them right off the sheet pan instead, grabbing just a few sticks at a time while Luke and Mia run laughing around the room. Don’t worry about leftovers; they actually taste even better the next day (if there are any left)!
When I Make This
I usually whip these up on a Friday evening to kick off the weekend with a sense of joyous extravagance. While they bake, you can find me folding laundry (just like every other day) or perhaps sneaking a cheeky episode of a series I’ve been binge-watching while I pretend to be productive. Not gonna lie, we often gather at the coffee table, messy hair and all, huddled together watching something silly and swapping bites of cheese-sticky goodness. Cleanup usually takes about 10 minutes, but I never mind it because how much fun we had together definitely outweighs the mess.
The Conversational Close
This recipe has been my go-to comfort through hectic mornings and busy evenings alike. I started with a kitchen disaster, and now I have cheesy breadsticks that fill my home with warmth, laughter, and memories. It may not be Michelin star-worthy, but it’s perfect for me and my family. I’m dying to know—I’d love to hear if you make these cheesy delights. Maybe share your kitchen antics or favourite dip with me?
What’s your go-to comfort food? Mine changes, but right now, it’s all about these cheesy zucchini breadsticks.

FAQ
-
Can I use other types of cheese? Absolutely! Feel free to mix it up with cheddar, gouda, or whatever you fancy.
-
How do I store leftovers? Keep them in an airtight container in the fridge for 2-3 days. Just reheat them in the oven for that crispy texture again.
-
Can I freeze these? You bet! Allow them to cool completely, then wrap them tightly in plastic wrap and foil. To reheat, pop them in the oven straight from the freezer—perfect for those busy days!
So there you have it—the ultimate recipe for cheesy zucchini breadsticks that are all about love, laughter, and a sprinkle of chaos. Grab your kids (or not, no pressure!), and let’s get cooking! 🍴

Cheesy Zucchini Breadsticks
Ingredients
Method
- Grate the zucchini using a box grater or food processor.
- Squeeze the grated zucchini to remove excess water.
- In a mixing bowl, combine the grated zucchini, salt, mozzarella, Parmesan, flour, eggs, garlic powder, and black pepper until well incorporated.
- Spread the mixture onto a parchment-lined baking sheet, shaping it into a rectangle about 1/2 inch thick.
- Preheat the oven to 200°C (400°F) and bake for about 20 minutes, or until the top is golden and bubbly.
- Allow to cool for at least 5 minutes before cutting into sticks.
- Serve warm with your favorite marinara sauce for dipping.