
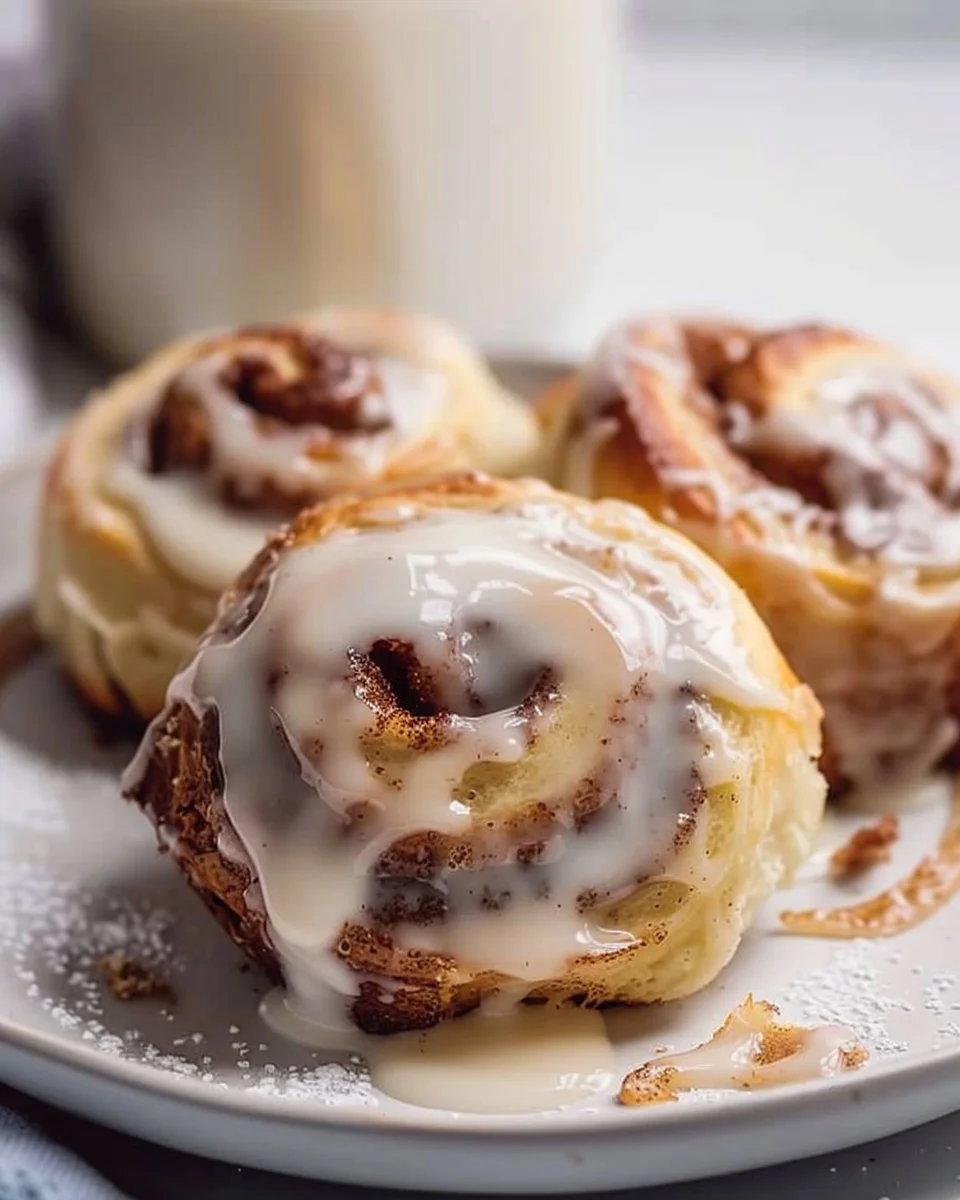
The Three Milks Cinnamon Rolls That Saved My Morning
The first time I tried to make cinnamon rolls, I didn’t just have flour in my hair—I had it everywhere. Seriously, I could’ve filled a small bag with the stuff! I was rushing through a Sunday morning, and my daughter, Lily, was bouncing around me like a puppy on a sugar high, begging for something sweet. Well, long story short, I ended up with a doughy disaster that probably would’ve been better suited for the trash than our bellies. It was at this exact moment that my dear friend Emily walked in, took one look, and said, “Well, at least you didn’t burn water this time!”
Now, fast forward a few years, and what I’ve discovered is that those mornings filled with flour clouds and laughter led me to something special—my beloved Three Milks Cinnamon Rolls. Trust me, this recipe isn’t just about whipping up some bakery-worthy treats; it’s become a comforting solution when life hands me a busy schedule and a craving for a warm, sweet treat.
Why This Recipe Matters
Imagine this: it’s a chaotic morning, everyone’s scrambling to get ready for work, school, or, let’s be real—more Netflix. You know those days where breakfast feels like an afterthought? That’s when these Three Milks Cinnamon Rolls come to the rescue. Not only do they fill your home with a warm, spicy aroma that could make even Grumpy Cat smile, but they also offer a hefty dose of joy and indulgence—without requiring you to be a master chef.
Making these rolls is like wrapping everyone in a cosy hug, saying, “Everything’s going to be okay.” So, if your mornings are anything like mine and you need a little sweet solace, I’m telling you—these rolls are just what you need.
Before You Start
- If you’re missing one of the milks, don’t panic! You can substitute any combination of the three (evaporated, sweetened condensed, and regular milk) according to what you’ve got—flavour still shines through.
- The one tool that makes rolling out the dough a breeze? A good-quality silicone baking mat. Trust me, your countertops will thank you!
- If your toddler decides that now is the moment to unleash their inner hurricane, just cover the dough with a damp cloth—it’s forgiving and will wait for you.
- Need a pick-me-up while baking? A nice cup of Earl Grey tea pairs wonderfully with the aroma of cinnamon rolls, or pour yourself a glass of cold milk for sipping!
Ingredients with Personal Notes
-
For the Dough:
- 4 cups all-purpose flour (I always go for plain flour because it works fine for everything!)
- 2 tablespoons dry yeast (don’t get scared; it just helps the dough rise!)
- 1/4 cup granulated sugar (makes everything sweeter!)
- 1 teaspoon salt (my grandma swore by this, and who am I to argue?)
- 1 cup milk, warmed (the secret nobody tells you? It should be warm, not hot—the yeast likes it cozy!)
- 1/2 cup unsalted butter, melted (you can’t go wrong with butter!)
- 2 large eggs (preferably free-range; they make me feel fancy!)
-
For the Filling:
- 1/2 cup brown sugar, packed (I usually grab the dark kind; it’s richer and, well, gives me life)
- 2 tablespoons ground cinnamon (more if you’re like me and can’t get enough)
- 1/4 cup unsalted butter, softened (this is where the magic happens)
-
For the Three Milks Mixture:
- 1/2 cup evaporated milk (you can find this in any supermarket)
- 1/2 cup sweetened condensed milk (I can’t resist a little sweetness!)
- 1/2 cup whole milk (the creaminess is irreplaceable)
-
Optional Icing:
- 1 cup powdered sugar (I can never get it to stay in one place!)
- 1-2 tablespoons milk (for drizzling)
- 1 teaspoon vanilla extract (this is totally optional but adds a lovely aroma)
The Step-by-Step with Stories
Step 1: Warm Up the Milk and Yeast
The Practical Instruction: In a small bowl, combine the warm milk and dry yeast. Let it sit for about 5-10 minutes until foamy.
Common Mistake Here: If the milk is too hot, it can kill the yeast. And that’s a sad day for everyone involved.
My Personal Hack: Want to supercharge your rolls? Add a hint of nutmeg to the yeast mixture now—it’s a game changer!
The Anecdote: This is the point where I usually take a deep breath and chuckle at my past failures. I once scalded the milk while simulating my best chef voice (I was definitely off-key), and it took another round of baby-sitting my dough before I had the perfect rolls.
Step 2: Combine Dry Ingredients
The Practical Instruction: In a large mixing bowl, whisk together the flour, sugar, and salt.
Why This Step Matters: Adding the salt ensures your rolls get that delightful contrast of flavour instead of tasting one-dimensional!
If You’re Multi-Tasking: This is a great moment to clean up the counters—less mess to deal with later!
Step 3: Mix Dough
The Practical Instruction: Add the yeast mixture, melted butter, and eggs to the dry ingredients. Mix until a dough forms.
Common Mistake Here: Overmixing can lead to tough rolls. Mix just until everything is combined—like making a pancake batter!
The Sensory Cue: You’ll know it’s ready when the dough stops sticking to your hands and is only slightly tacky.
Step 4: Knead the Dough
The Practical Instruction: Knead the dough on a floured surface for about 5-10 minutes until smooth.
The Human Insight: Kneading is essential for developing gluten, giving your rolls that fluffy texture we all crave.
The Anecdote: Picture this: I’m usually in my favourite socks, barefoot in the kitchen, enjoying the warm, floury smell while chatting with Lily about her school day. It’s those small moments that make life sweet.
Step 5: Let It Rise
The Practical Instruction: Place the dough in a greased bowl, cover it with a damp cloth, and let it rise in a warm spot until doubled in size, about 1 hour.
My Personal Hack: If you’re short on time, preheat your oven to the lowest setting for a few minutes, then turn it off and place the dough inside to rise—it cuts the rising time in half!
Step 6: Prepare the Filling
The Practical Instruction: Mix together the brown sugar and cinnamon in a bowl while waiting.
Why This Step Matters: Trust me, the smell of cinnamon mixed with sugar is worth every minute of waiting.
Step 7: Roll It Out
The Practical Instruction: Once the dough has risen, roll it out into a rectangle about 1/4 inch thick.
Common Mistake Here: Don’t roll your dough too thin; you want enough space for that lush filling!
The Anecdote: I always think of my grandma when I do this; she would hum a little tune while rolling out her dough, and I try to keep that spirit alive.
Step 8: Fill and Roll
The Practical Instruction: Spread softened butter over the rectangle, sprinkle with the sugar-cinnamon mix, and roll it tightly from the long end.
The Sensory Cue: You’ll know you’re on the right track when your kitchen starts smelling like a dreamy bakery!
Step 9: Cut the Rolls
The Practical Instruction: Slice the rolled dough into 1-inch pieces and place them in a greased baking dish.
The Human Insight: If you find that some of your rolls are wonky or crooked, don’t worry! They’ll all become friends in the oven.
Step 10: Let Them Rise Again
The Practical Instruction: Cover the rolls with a damp cloth and allow them to rise for another 30 minutes while you preheat your oven.
If You Need to Pause: Just poke the dough down gently for about a minute; it won’t mind.
Step 11: Bake
The Practical Instruction: Bake in a preheated oven at 180°C (350°F) for 25-30 minutes or until golden brown.
Step 12: Three Milk Soaking
The Practical Instruction: While they bake, whisk together the evaporated milk, sweetened condensed milk, and whole milk.
Common Mistake Here: Don’t skimp on soaking; let them absorb that milky goodness after they’re out of the oven!
Step 13: Soak the Rolls
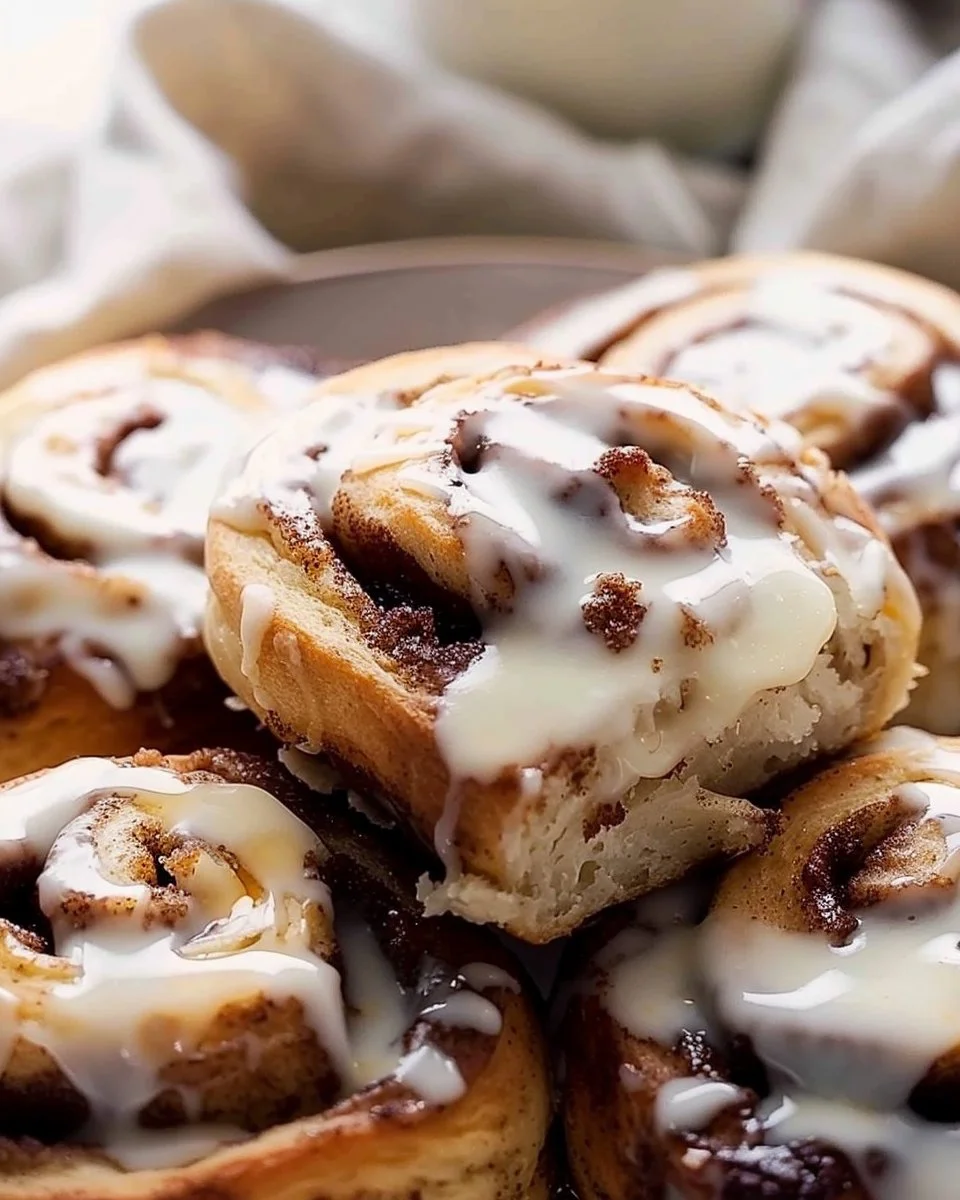
The Practical Instruction: Once the rolls are out of the oven, immediately drizzle the milk mixture over them.
The Anecdote: This is when I usually run to the living room to tell Lily how amazing the smell is—she always comes racing back, ready to devour!
Step 14: Icing (Optional)
The Practical Instruction: Whisk powdered sugar with a couple of tablespoons of milk until smooth and drizzle it over the warm rolls.
My Personal Quirk: Honestly, I eat the crispy bits straight from the pan while I drizzle icing—and yes, it’s a bit messy, but hey, that’s how I live my life.
Troubleshooting Real Life
- If you burn the bottom: Don’t panic! Trim off the burnt bits, and the flavour can still shine through.
- If you’re out of evaporated milk: You can substitute with regular milk and a dash of cream; it’ll still work wonders!
- If you need to pause because of a kid emergency: Just pop a damp cloth over the rolls and they’ll wait peacefully until you’re ready.
- If it’s just not working: Seriously, take a breather! Or better yet, split the trouble and order takeaway pizza, guilt-free.
The Serving Story
I usually serve these rolls in a large ceramic dish that holds all the warmth and flavour they’ve absorbed. Something about the vintage charm of it feels like home. The perfect side? Well, honestly, they don’t need one—sometimes we eat them straight from the pan! But when I’m feeling slightly more put-together, I love pairing them with a dollop of whipped cream or a scoop of vanilla ice cream on top.
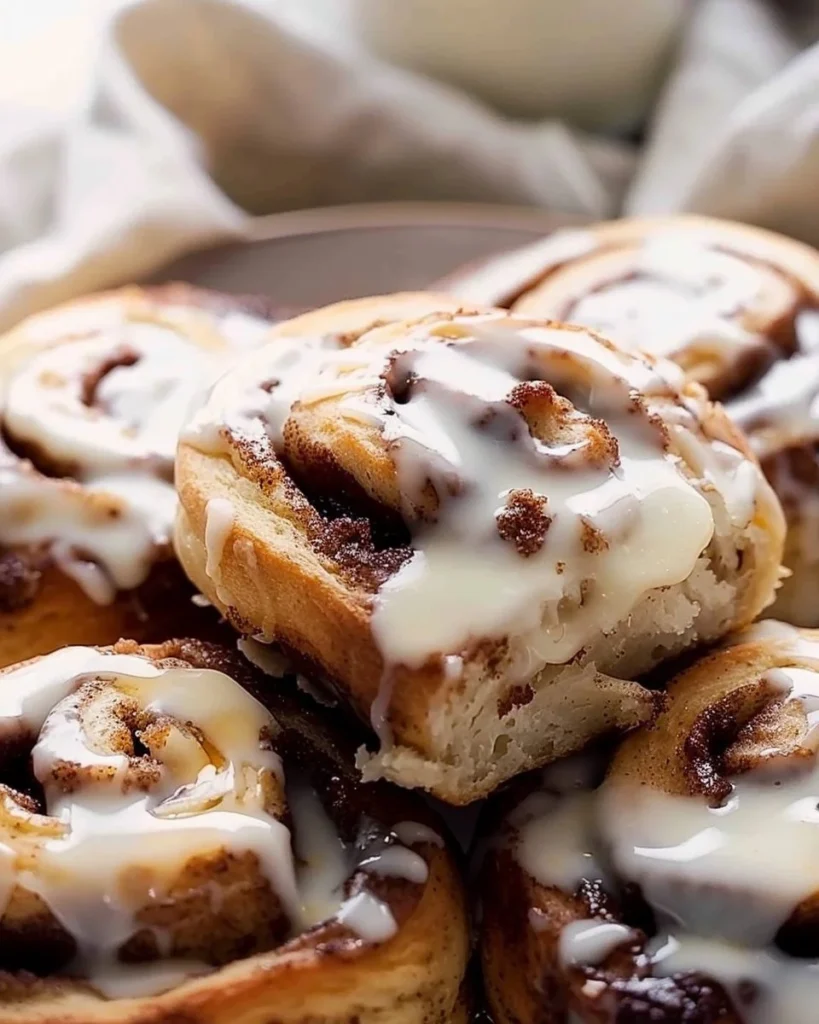
And the leftovers? They taste even better the next day, trust me on this. All that cinnamon and sugar has had time to meld together, making each bite a comforting hug.
When I Make This
I usually whip these up on Saturday mornings because those are days when we find our rhythm together. While they’re baking, I’m usually folding the laundry or sipping tea while calling my mum. We eat them at the kitchen table, maybe throwing on a few candles if we’re feeling fancy, or just lounging in the living room with crumbs everywhere as we laugh at silly jokes.
The cleanup takes about 20 minutes, but I promise it’s worth it because the sweet memories made are much more valuable than a clean counter.
The Conversational Close
This recipe has seen me through the chaos of life—a million mismatched socks and soccer practice hurries. It might not be perfect, and it certainly requires a bit of patience, but it’s mine, and it’s filled with love and laughter. I’d love to hear if you give this a whirl—tag me if you do, or just quietly enjoy it by yourself!
So, what’s your go-to comfort food? Mine might change over the seasons, but right now? It’s this delightful, gooey Three Milks Cinnamon Rolls that warm my heart and home.
FAQ
-
Can I make the dough in advance?
- Absolutely! You can prepare the dough a day ahead, just keep it in the fridge. Give it a little time to come to room temperature before rolling.
-
How do I store leftovers?
- Keep any leftover rolls in an airtight container. They should last for a few days, but let’s be real—who has leftovers for long with these around?
-
Can I freeze these rolls?
- Yes! Bake them, cool them completely, and then freeze. When you’re ready, just thaw in the fridge overnight and rewarm.
-
Is there a gluten-free version?
- You can definitely try using a gluten-free flour blend. Just be mindful of the ratios, as gluten-free flour can behave differently!
I hope these tips help you whip up a batch of sweetness that you’ll treasure for years to come! Happy baking!
Three Milks Cinnamon Rolls
Ingredients
Method
- In a small bowl, combine the warm milk and dry yeast. Let it sit for about 5-10 minutes until foamy.
- In a large mixing bowl, whisk together the flour, sugar, and salt.
- Add the yeast mixture, melted butter, and eggs to the dry ingredients. Mix until a dough forms.
- Knead the dough on a floured surface for about 5-10 minutes until smooth.
- Place the dough in a greased bowl, cover it with a damp cloth, and let it rise in a warm spot until doubled in size, about 1 hour.
- Mix together the brown sugar and cinnamon in a bowl.
- Once the dough has risen, roll it out into a rectangle about 1/4 inch thick.
- Spread softened butter over the rectangle, sprinkle with the sugar-cinnamon mix, and roll it tightly from the long end.
- Slice the rolled dough into 1-inch pieces and place them in a greased baking dish.
- Cover the rolls with a damp cloth and allow them to rise for another 30 minutes while you preheat your oven.
- Bake in a preheated oven at 180°C (350°F) for 25-30 minutes or until golden brown.
- While they bake, whisk together the evaporated milk, sweetened condensed milk, and whole milk.
- Once the rolls are out of the oven, immediately drizzle the milk mixture over them.
- Whisk powdered sugar with a couple of tablespoons of milk until smooth and drizzle it over the warm rolls.